Process & Technical Info
My photo collage process is 100% analog and completely handmade. I strive to create drama and optical effects which change along with viewing distance and perspective. I adhere to museum-quality archival standards in my photography, collage, and framing methods.
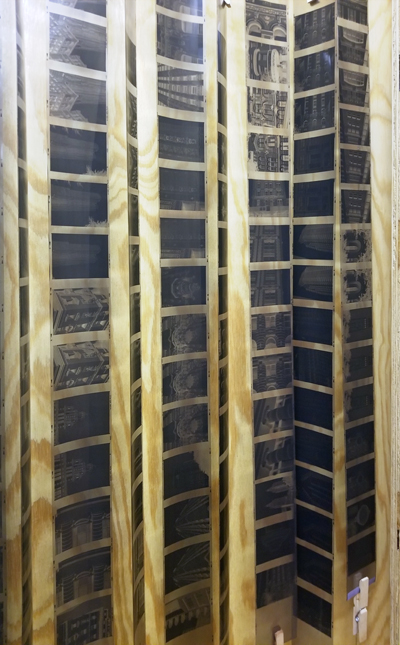
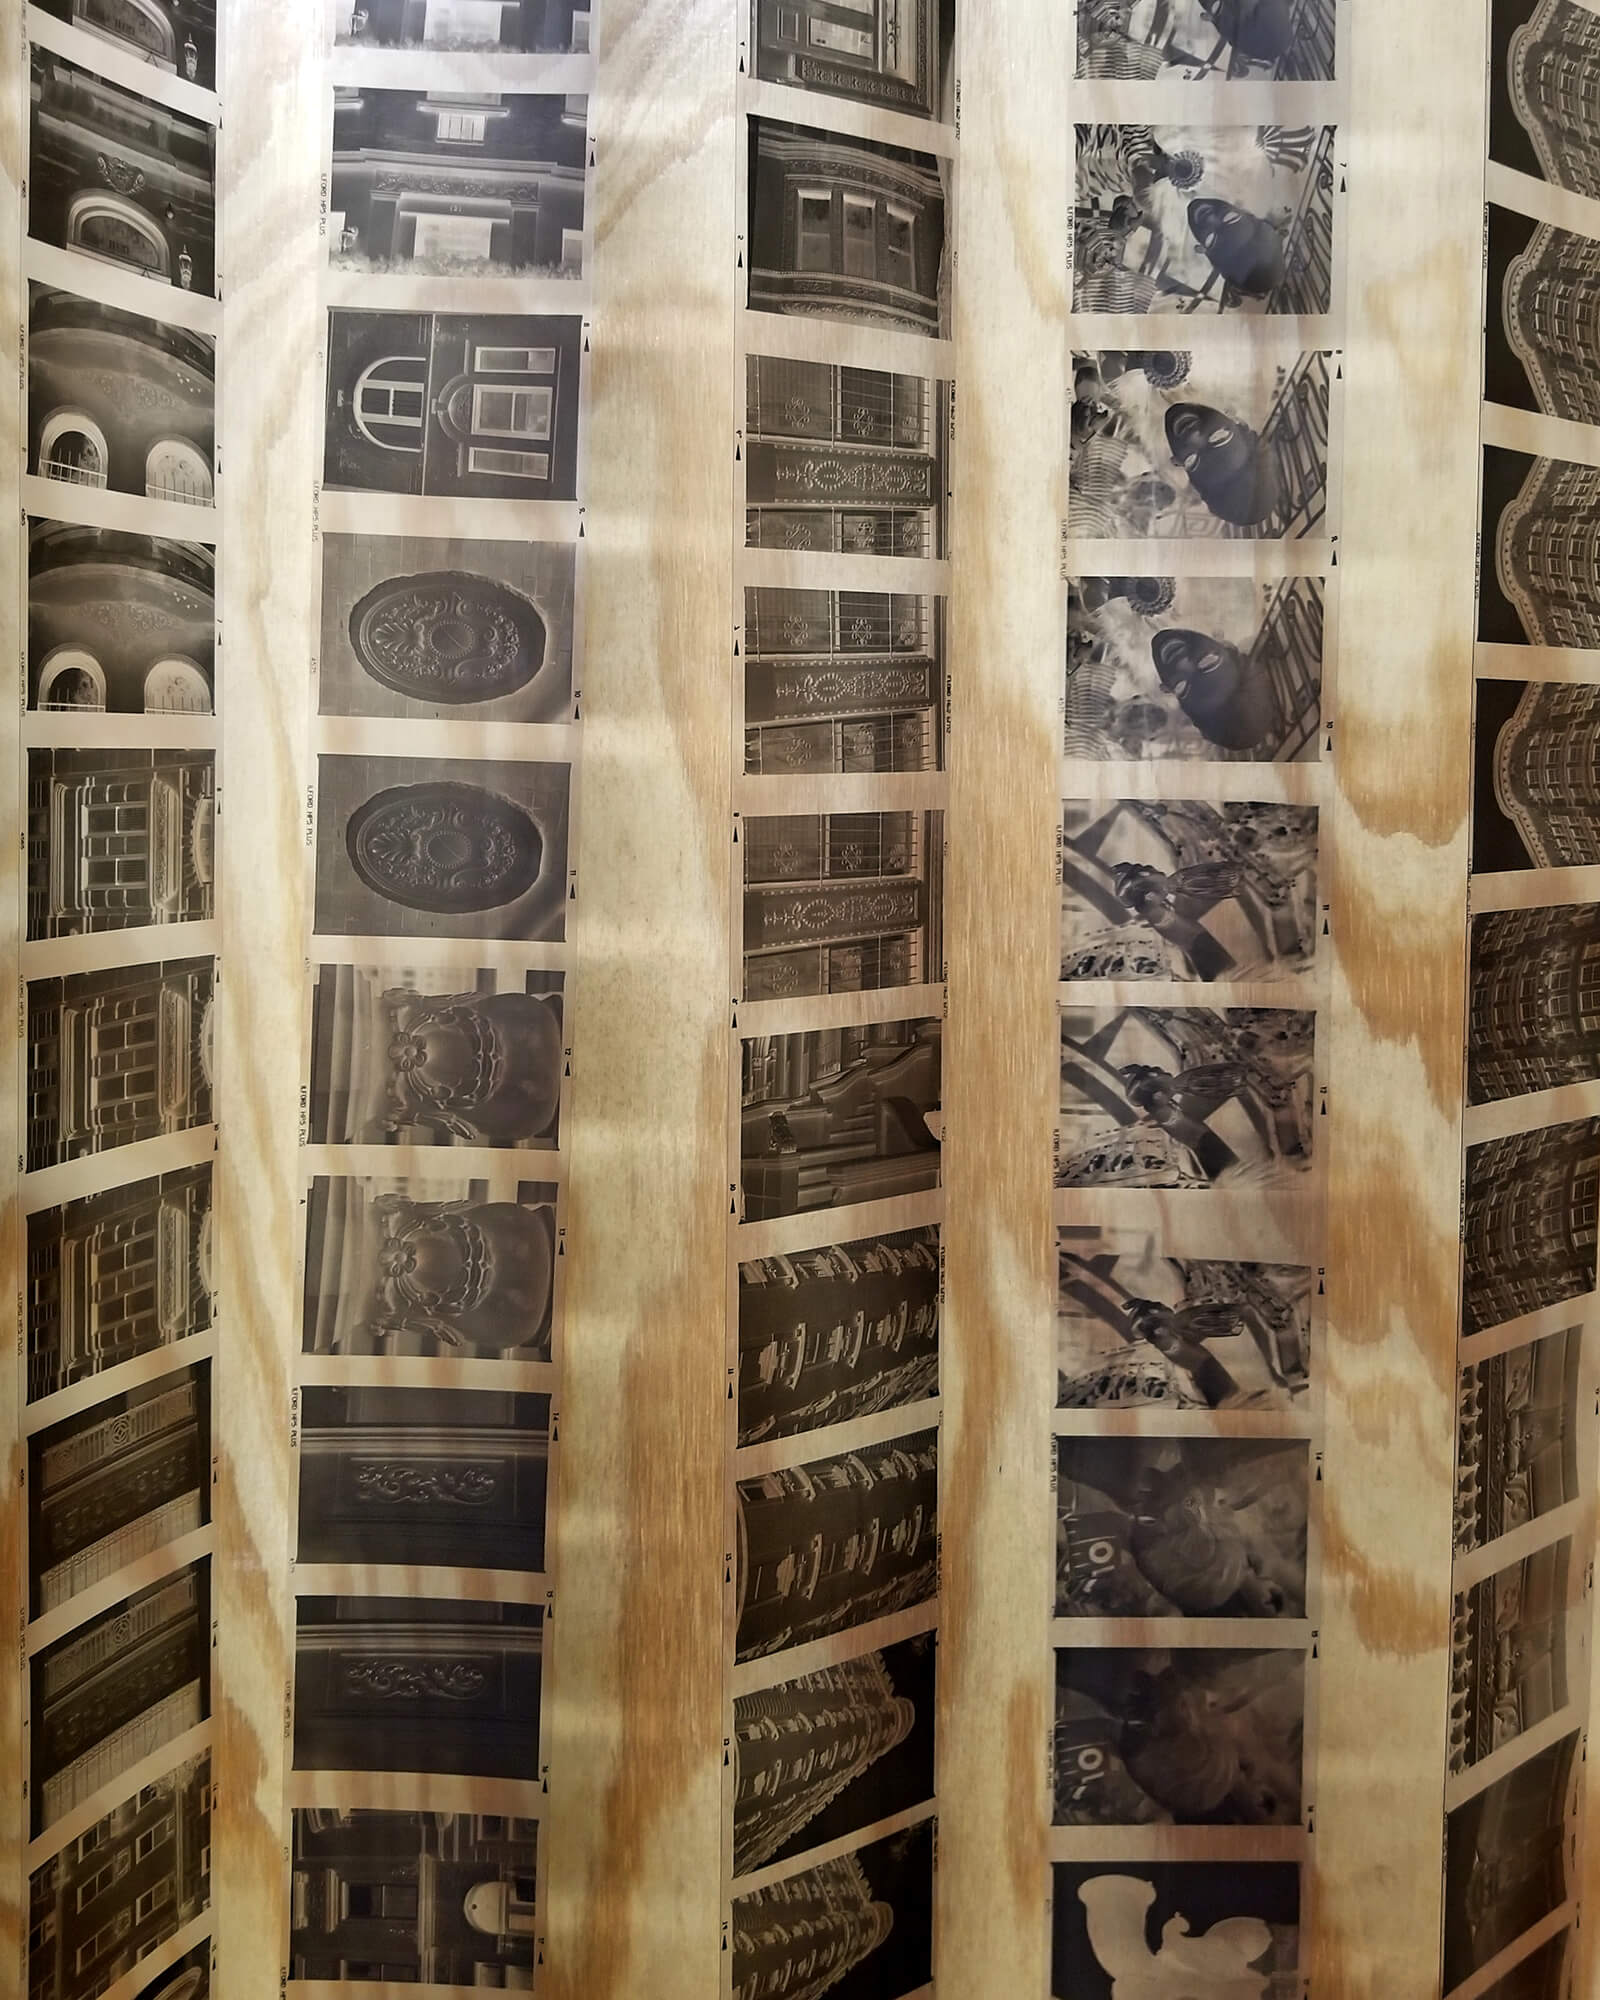
I start by shooting 120-format black & white film (about 2.5 times the size of a postage stamp). I develop the film in small hand-held tanks using liquid chemistry that I mix just beforehand. I hang the film rolls to dry in a dustproof cabinet, and it looks like this:
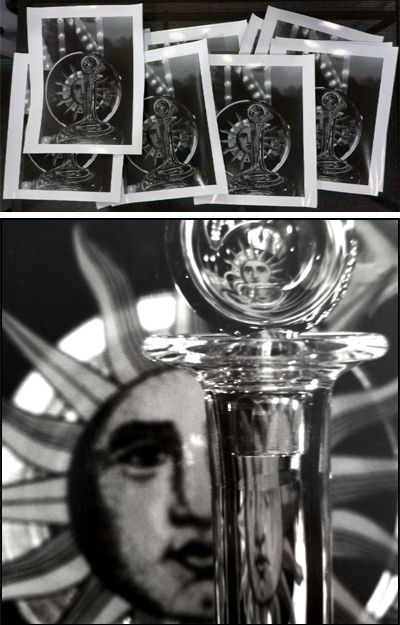
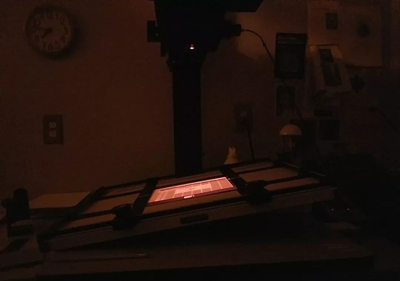
I create multiple darkroom (“silver gelatin”) prints of an image, using an enlarger which shines light through the film negative. After printing, I tone the prints using two chemical baths which preserve their longevity, by protecting against tonal shifts due to light and environmental pollutants.
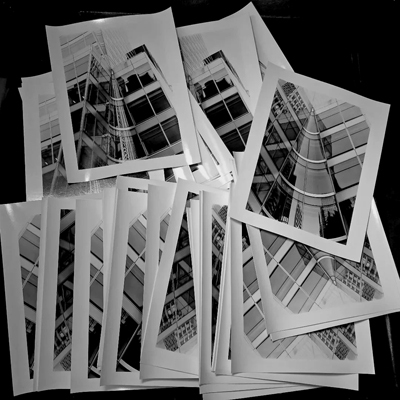
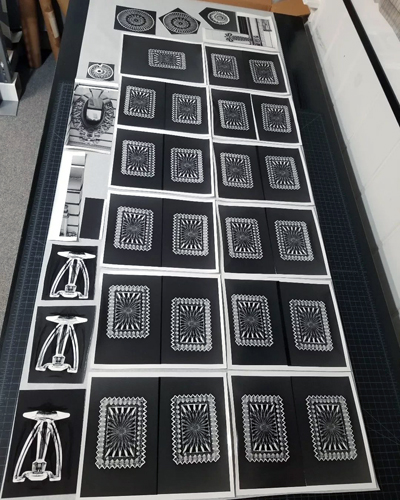
I then adhere dry mount tissue to the reverse of the finished prints, using a dry mount press heated to about 200 degrees Fahrenheit. This tissue melts onto, and becomes part of the print, and allows me to easily and permanently adhere print sections onto a mounting board. This is a group of prints with dry mount tissue visible at the edges:

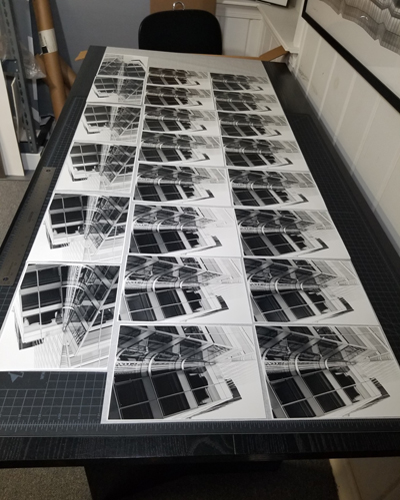
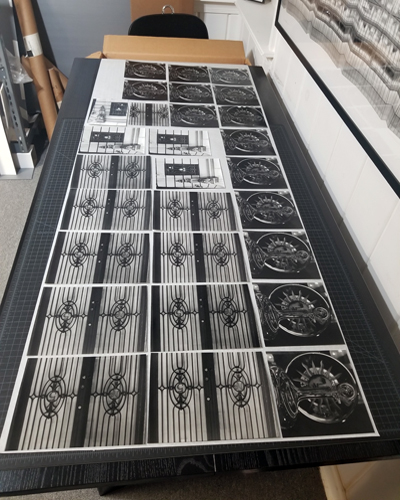
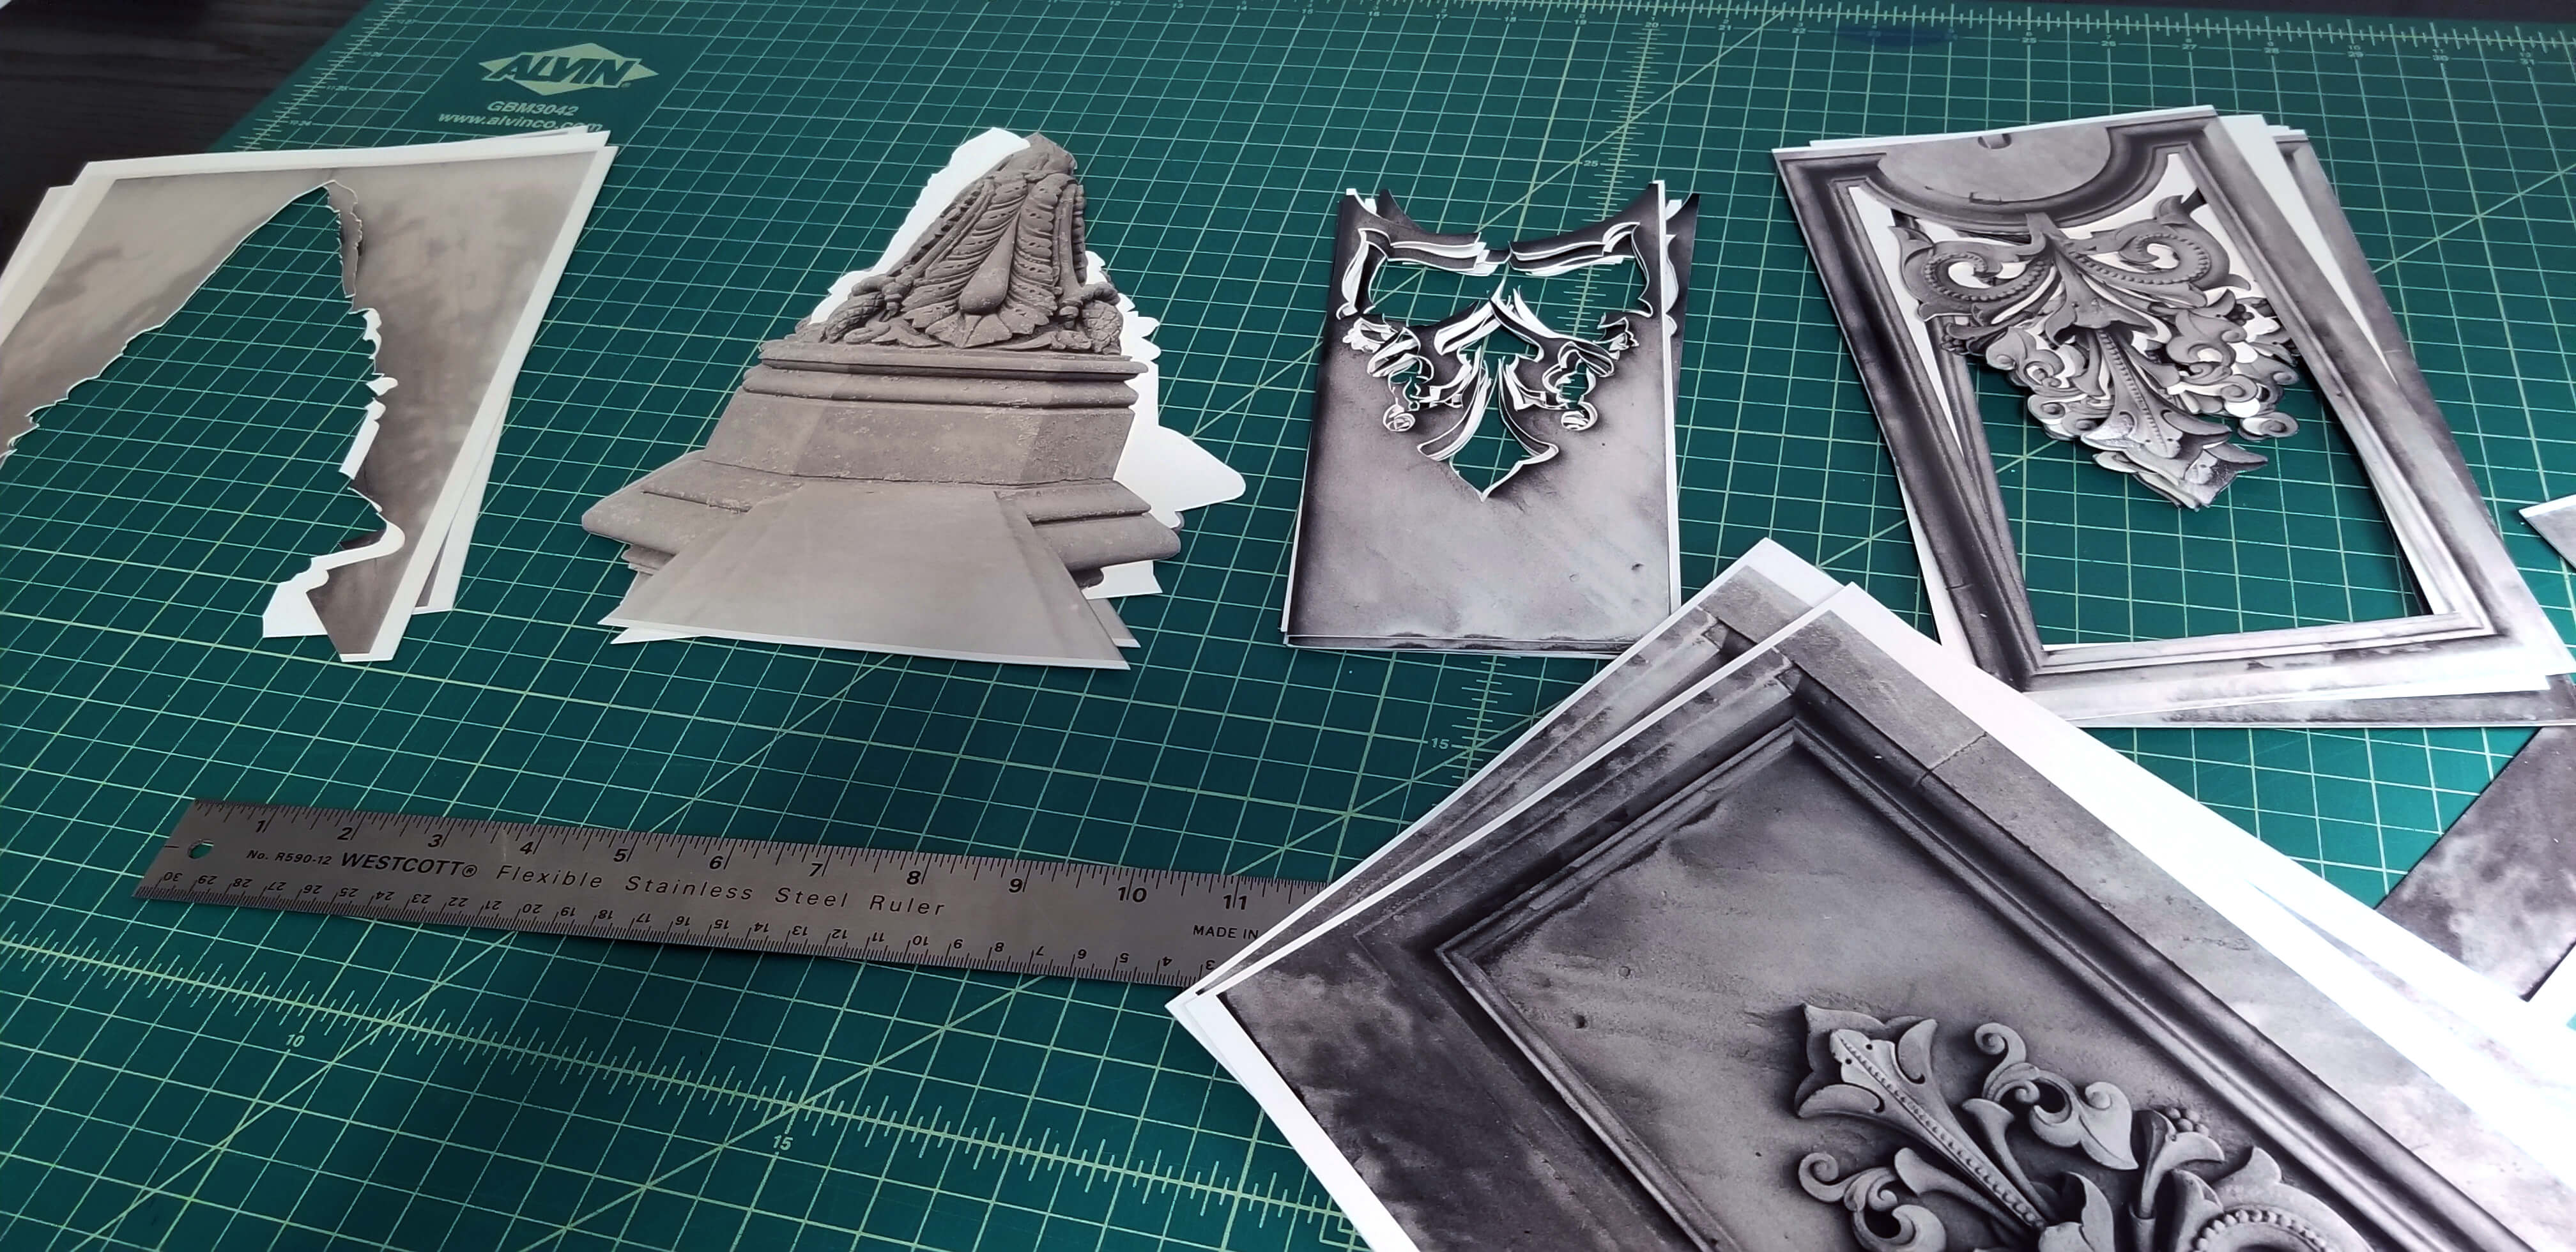
I then cut out the images from the background, using an Xacto knife. Here’s an image of two groups of prints undergoing this process. The differences in tone are a result of different printing papers: one warm (brownish), the other cold (gray):
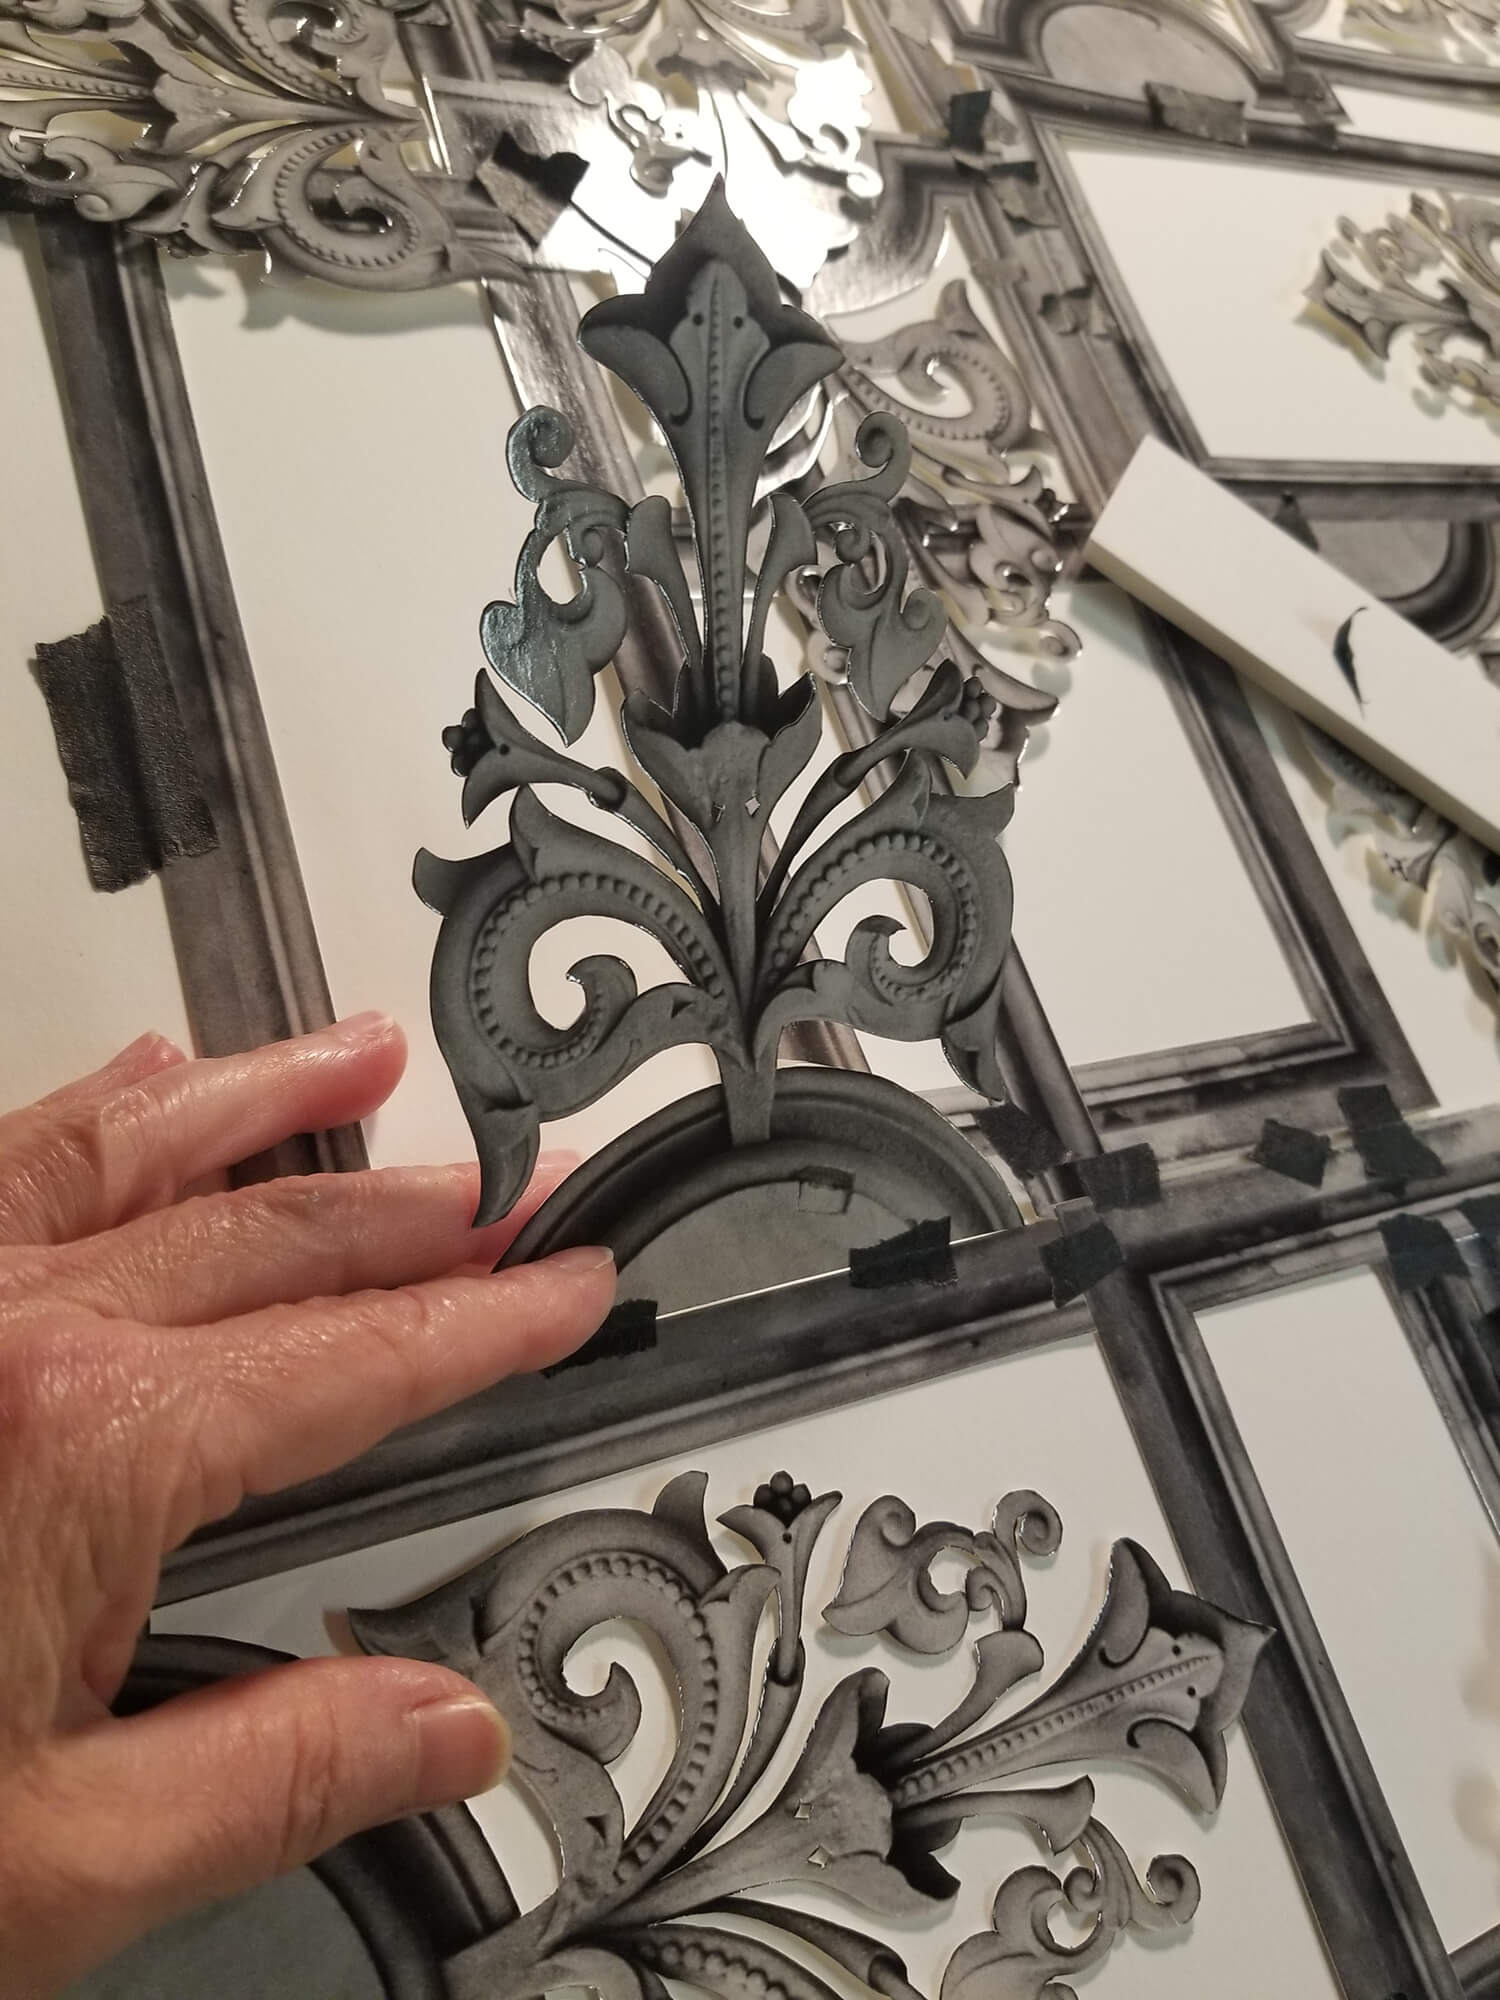
I hand-cut and -assemble the print sections into 2-D and 3-D geometric abstract collages. 2-D collages are adhered using a dry mount press to evenly melt the tissue and come away with a flat composition. For 3-D collages, I will use a tacking iron to selectively adhere parts of the prints, allowing other sections to protrude out from the mounting board. In this photo I am deciding how much to adhere, and how much will protrude:
During the Pandemic, I developed a technique of building up layers of stacked shaped mounting boards to allow the print sections to cast shadows on the mounting board. I made a short video detailing the process:
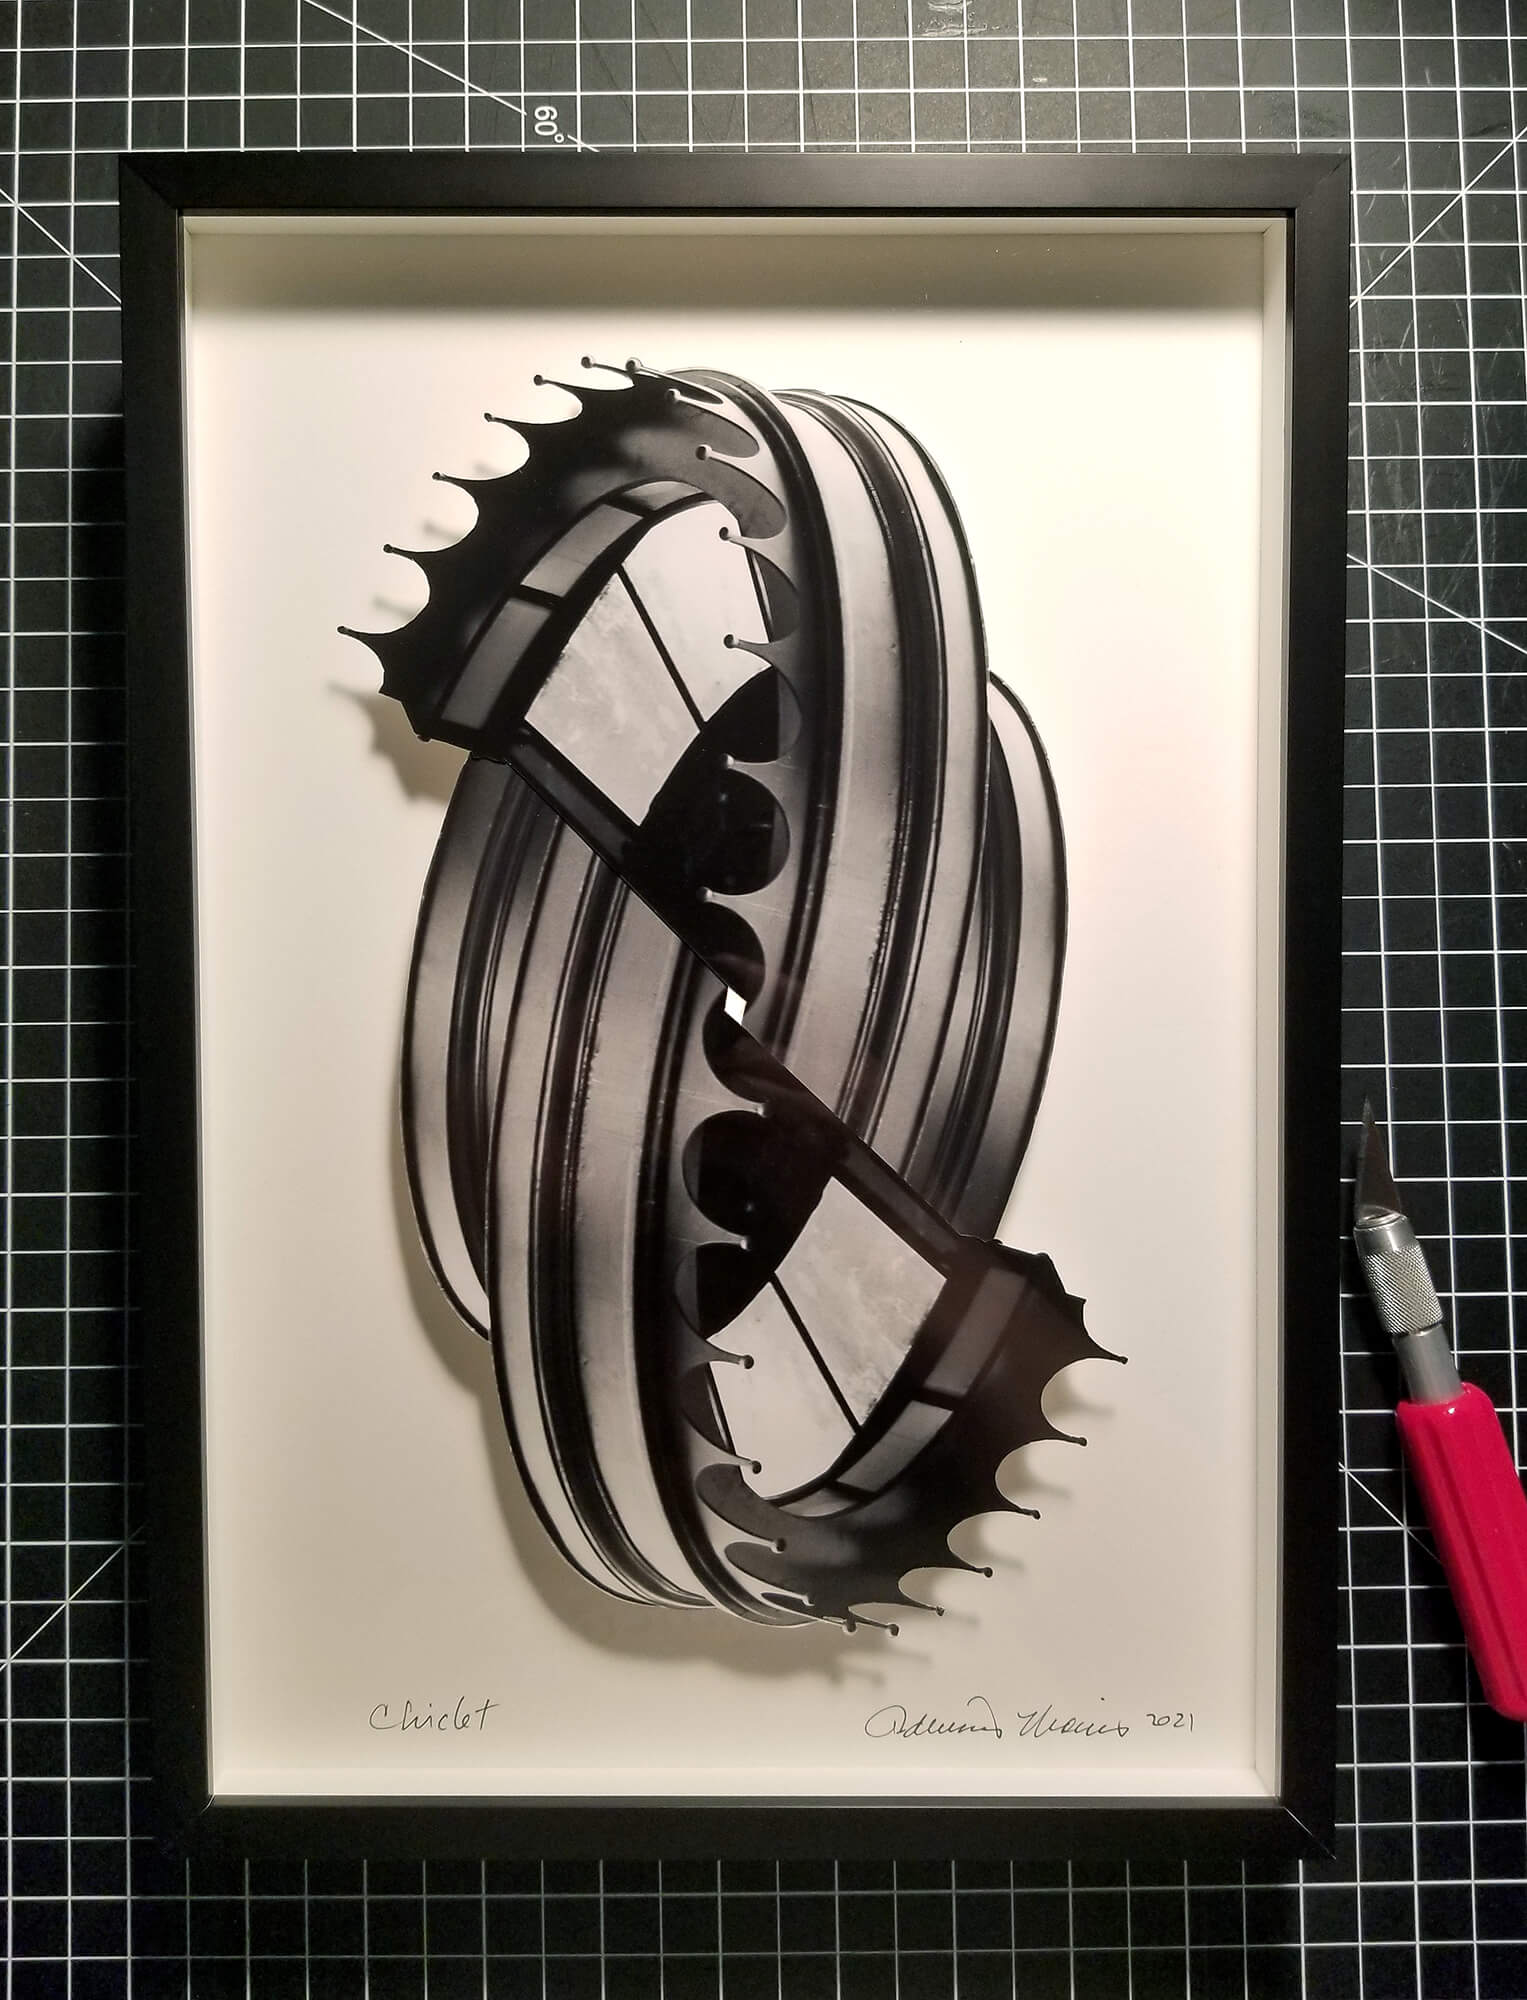
I usually frame my own work, with the exception of very large collages. Et voilà, a finished piece with frame spacers to accommodate the depth of the collage and its platform:
Summer 2024 Home Studio Residency Work Process
During most of July and August, I immersed myself in the darkroom, processing film, making dozens of prints, and preparing the dry mount tissue to adhere to the underside. I have months of very satisfying work to look forward to, bringing these prints to life as hand-cut collages.